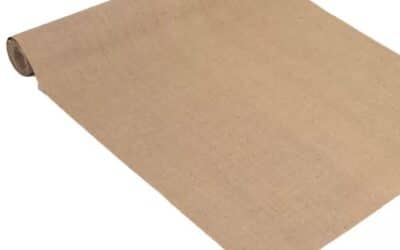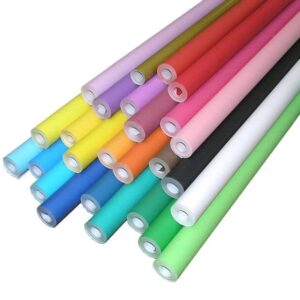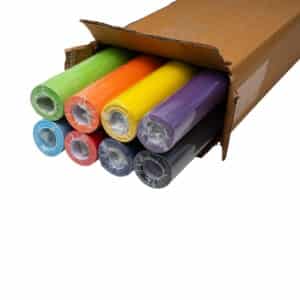
For Smaller Display Boards (Where the Display Roll is Longer Than the Width of the Board)
- Start at the Corner: Begin at either the top right or left corner of the board, depending on your preference or comfort. It’s important to choose a starting point that allows for a smooth, controlled application of the paper.
- Staple Across the Top: Take the display roll and align it along the top edge of the board. Stretch the paper gently to avoid any wrinkles, then staple it securely across the entire width of the board, making sure the staples are evenly spaced for a firm hold. Make sure the paper is taut but not too tight, as this can cause it to tear later.
- Let the Roll Fall: Once the top edge is stapled, let the rest of the roll fall downwards naturally to the bottom of the board. Don’t pull the paper down too tightly yet; let gravity help you keep it even as you move down the board.
- Staple the Sides: Starting at the top, staple the paper down each side of the board, making sure that it’s smooth and straight. Use your hands or a smoothing tool to keep the paper in line with the edge of the board as you work your way down. The key here is to ensure the paper doesn’t shift or wrinkle as you staple, so make small adjustments as needed.
- Trim the Bottom Edge: Once the paper is stapled down along both sides, take a pair of scissors and use the blade to follow the bottom edge of the board. Carefully cut off the excess paper, using the edge of the board as a guide to ensure a straight, clean cut. Be sure to leave just enough paper to staple along the bottom edge.
- Staple the Bottom Edge: After cutting the excess paper, pull the remaining paper tight across the bottom of the board and staple it down, ensuring the staples are placed evenly to hold the paper securely in place.
- Add the Border: Once the display paper is fully stapled and secured, finish off the look by adding your chosen border rolls along the edges of the board. The border not only enhances the visual appeal but also covers any rough or uneven edges for a polished finish.

For Larger Display Boards (Where the Display Roll is the Length of the Board)
- Choose Your Starting Corner: As with the small boards, begin at either the top right or left corner of the board. Again, the choice of corner is up to you, but it’s important to stay consistent throughout the process.
- Staple Across the Top: Align the display paper along the top edge of the board. Gently pull the paper to remove any slack but avoid over-tightening it, as this can cause unevenness or stretching. Staple the paper across the top edge, making sure it’s held firmly in place.
- Cut the Paper to Size: With your scissors, use the blade to cut the paper along the edge of the board, following the length from the top to the bottom. The board edge serves as your guide, helping you achieve a straight, even cut. Make sure to trim as closely as possible to avoid any excess paper that could disrupt the overall neatness of the board.
- Smooth and Staple the Sides: Once the paper is cut, smooth it down along both sides of the board. Start from the top and work your way down, stapling the paper along the edges, ensuring that it stays aligned and taut as you go. Use your hands or a smoothing tool to keep the paper straight and prevent any bubbling or shifting.
- Staple the Bottom Edge: After securing the sides, pull the paper gently across the bottom of the board. Make sure it’s smooth and free of wrinkles, then staple it down along the bottom edge. Ensure that the paper is tight but not pulled too taut, and staple the bottom with the same even spacing used for the top and sides.
- Finish with the Border: With the display paper securely in place, finish by adding your border rolls around the edges of the board. This will help conceal any rough edges and give the board a finished, professional look.
By following these steps carefully, you’ll be able to cover both small and large boards with smooth, wrinkle-free display paper that looks professional and stays securely in place. Whether for display purposes or as part of a project, taking your time with each step will result in a clean, sharp finish.


